Successful Summer Bud Grafting (T-budding & Chip budding): Easy Method for Beginners
Please note: When grafting a fruit tree, the fruit variety will be that of the scion (the bud you insert), not that of the rootstock or a seedling. The rootstock influences the vigor and size of the tree, but the scion determines the type of fruit (for example, a 'Granny Smith' apple will always produce 'Granny Smith' apples).
Why choose summer bud grafting?
Summer grafting, specifically bud grafting, is practiced from late July to late August (in the Northern Hemisphere) and involves inserting a single bud (scion) of a desired variety under the bark of a rootstock. This period is ideal because sap circulates abundantly in the rootstock, allowing the bark to peel easily and promoting rapid healing and a good union between the scion and the rootstock. It is an effective method for:
- Diversifying your fruit varieties on the same tree or in your garden.
- Saving a tree by changing an unwanted branch variety.
- Multiplying your favorite fruit trees from a single shoot.
It is suitable for many fruit trees such as apple, pear, cherry, plum, apricot, and peach trees.
Specific advantages of summer bud grafting
Bud grafting is particularly beneficial for amateur gardeners in summer:
- High success rate: The active late summer sap ensures rapid fusion of the cambium (growth tissues), significantly increasing the chances of success.
- Efficiency: A single shoot of the year can provide many buds, allowing for the production of several new trees.
- Versatility: Works on a wide range of fruit trees, whether young rootstocks or branches of established trees.
- Simplicity: Although precision is required, the steps and tools are simple, making this technique very accessible to beginners.
Step 1What materials are needed for summer bud grafting?
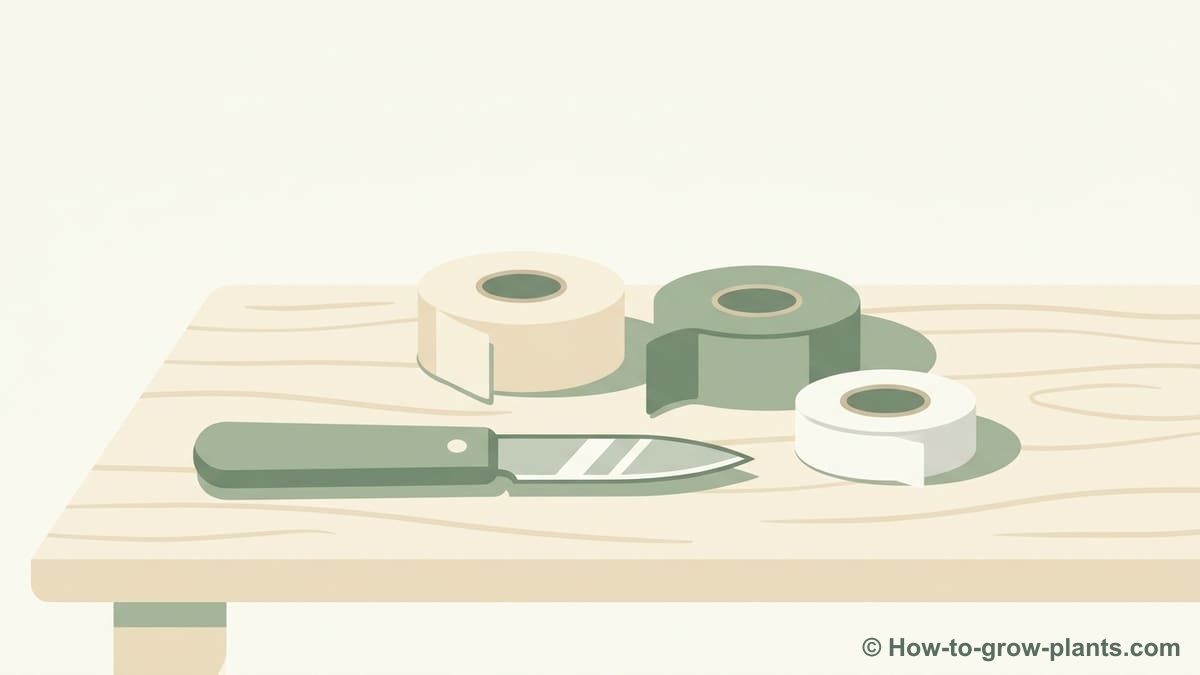
You don't need highly specialized equipment. The essentials are a sharp knife and something to tie the graft. Here is the list:
Grafting Knife
A very sharp grafting knife is essential for clean cuts. A very sharp utility knife can also work.
- A dedicated grafting knife often has a spatula for lifting the bark.
- Always disinfect the blade with alcohol before each graft to avoid transmitting diseases.
Tying Material
Use natural raffia or elastic grafting tape to hold the bud firmly in place.
- The tying material protects from dehydration and ensures perfect contact between the scion and the rootstock.
- Elastic bands are practical because they stretch with growth.
Pruners
For collecting shoots and preparing the rootstock.
- Make sure it is clean and sharp.
Step 2How to select a good rootstock and scion?
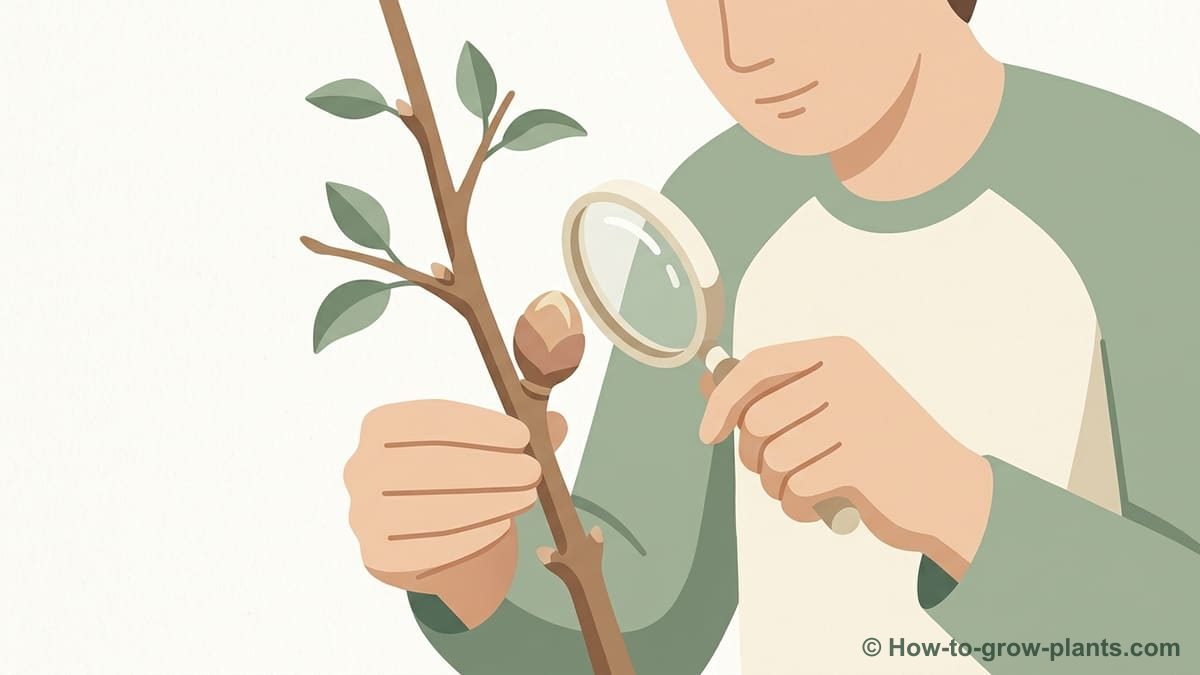
The quality of your materials is crucial for grafting success. Here's how to make the best choices:
Rootstock selection
The rootstock must be in full growth and full of sap. A distinctive sign is its apical bud (shoot tip) which must be very active and fully extending. For example, a quince tree planted in spring will have reached sufficient size and vigor by late July to be grafted. To ensure good sap flow, water your rootstocks generously one week before grafting, especially during dry periods. The video shows a rootstock about 1.5 cm in diameter. The bark should peel off easily.
Scion selection (bud wood)
The shoot bearing the buds (the scion) must be well-matured (lignified) from the current year. Avoid soft, actively growing tips. A good shoot will have a terminal bud that has stopped growing and appears "hardened." This indicates that the wood has begun to lignify, making it easier to handle and more apt to unite. The video from Les Fruitiers d'Emile suggests taking a shoot of the variety to be multiplied, checking that its tip is not too soft.
- Scion preparation: Once the shoot is chosen, remove all leaves by cutting their petiole (leaf stalk) about 5 mm from the base, without damaging the dormant bud in the axil. This prevents dehydration of the shoot.
Step 3Detailed steps for bud grafting (T-budding and Chip budding)
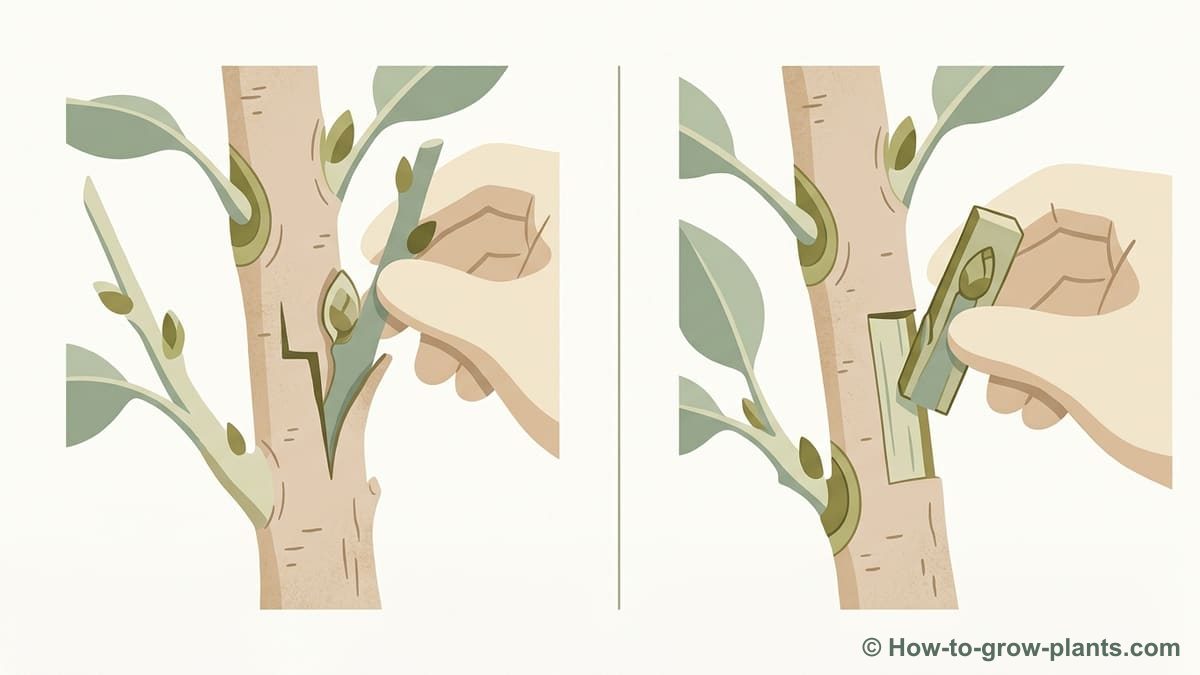
There are two main methods of bud grafting: T-budding and Chip budding. Both are effective, but Chip budding is often simpler for beginners or when sap is less abundant.
The T-budding method
T-budding is a traditional and reliable technique, which requires good sap circulation for the bark to peel easily.
Prepare the bud (scutellum)
With your grafting knife, carefully remove a bud (the "scutellum") from the prepared shoot.
- Start the cut approximately 7-8 mm below the bud, going slightly under the bark. The video shows a shallow cut.
- Make sure to take only a thin sliver of wood with the bud, avoiding the too-hard wood of the center. The essential tissues (cambium) for union are the outer layers.
- Finish the cut approximately 7-8 mm above the bud, cutting horizontally to detach it.
Prepare the rootstock
Make a 'T' shaped incision on the rootstock, where you want to graft the bud.
- First, make a horizontal cut 1.5 to 2 cm wide through the bark.
- Then, make a vertical cut about 2.5 cm long from the center of the horizontal cut downwards, forming a 'T'.
- Use the spatula of your grafting knife (or the tip of the blade) to gently lift the two bark flaps on either side of the vertical incision.
Insert the bud
Gently slide the prepared bud into the 'T' incision of the rootstock.
- The small remaining petiole can help you push the bud down.
- Ensure the bud is completely inserted under the bark flaps and that the top of the bud is flush with the horizontal cut of the 'T'.
- Gently close the bark flaps around the bud.
Tie the graft
Firmly secure the graft with raffia or an elastic grafting tape.
- Start with a securing wrap, then firmly wrap the material around the graft, covering all cuts but leaving the bud exposed.
- Ensure there are no air pockets and that the bark is well pressed against the bud.
- Finish with a solid knot or by tucking in the end of the elastic.
The Chip budding method
Chip budding is simpler, especially if the rootstock's sap flow is not optimal or if the bark does not peel easily. It involves removing a small piece of wood with the bud and inserting it into a corresponding notch on the rootstock.
Prepare the scion shoot
As with T-budding, remove all leaves from the chosen shoot, leaving short petioles.
- This prevents dehydration and facilitates handling of the buds.
- Ensure the scion is mature with well-formed buds.
Remove the "chip"
Make two cuts to remove a small chip containing the bud from the scion shoot.
- Make a first shallow cut, about 7-8 mm below the bud, slightly inclined downwards and penetrating into the wood.
- Make a second cut about 2-3 cm above the bud, descending behind the bud until it meets the first cut, forming a chip.
- Tip for beginners: The video advises making a small horizontal cut before the first inclined cut on the scion to act as a stop and facilitate clean extraction of the chip.
Prepare the rootstock notch
Create a corresponding notch on the rootstock to accommodate your chip.
- Make a downward sloping cut into the rootstock, similar to the first cut on the scion.
- Then, make a horizontal cut above, descending until it meets the first cut and removes a piece of bark and wood.
- The goal is to create a clean notch that perfectly matches the size and shape of your chip.
Insert and tie the chip
Place the bud chip into the rootstock notch and secure it firmly.
- Ensure that the cambium layers (the green tissue just under the bark) of the chip and the rootstock align perfectly for optimal union.
- Immediately wrap the entire graft, including the bud, with elastic grafting tape or raffia.
- This complete covering protects the bud from dehydration, which is crucial for chip budding.
Step 4How to ensure grafting success and what are the signs of success?
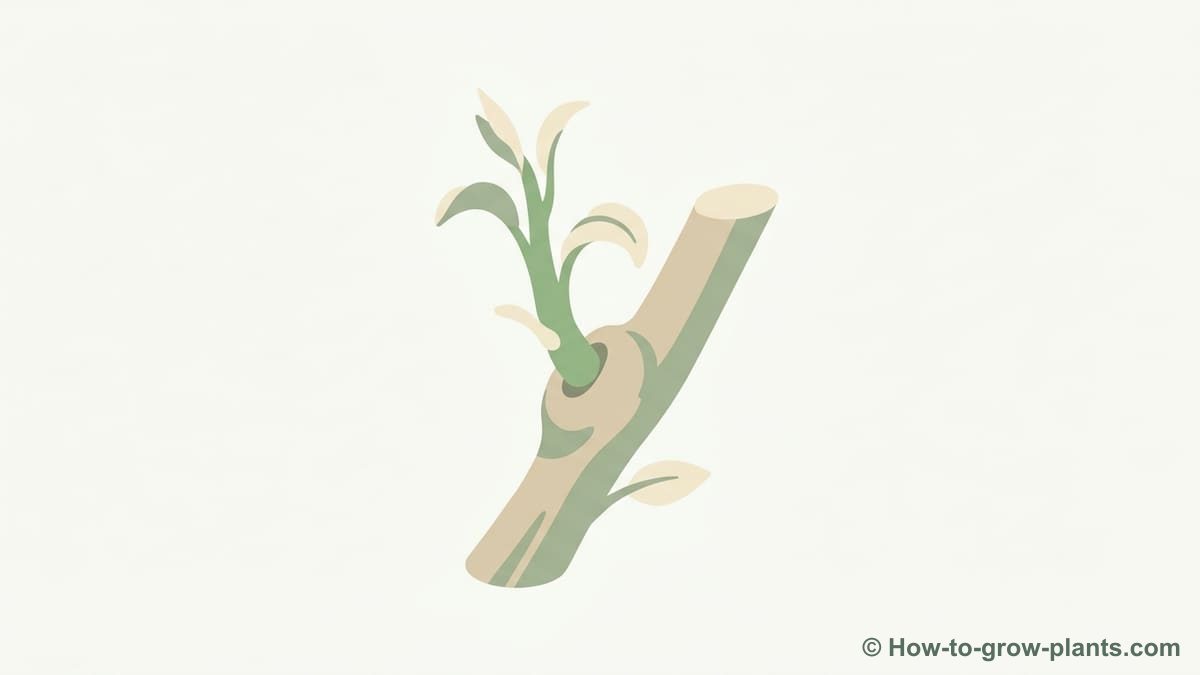
After grafting, patience and care are essential for a good union.
Post-graft care
The tying material (elastic or raffia) must remain in place for at least 2 to 3 weeks, or even up to 1.5 months if sap was minimal, to allow the graft to heal. Remove non-biodegradable materials before winter to avoid strangling future growth. For chip budding, where the bud is fully covered, remove the tape before winter to prevent the bud from rotting due to lack of air. A successful graft will manifest as a bud that remains alive, green, and begins to swell the following spring. The video from Les Fruitiers d'Emile shows a bud remaining green as a sign of success.
Rootstock cutting
Once the graft has taken (generally in January or February, when the tree is dormant), you will need to cut back the rootstock. Make a clean cut on the rootstock about 6-7 cm above the grafted bud. This will direct all the rootstock's energy towards the grafted bud, encouraging it to start vigorously in spring.
Step 5What are common mistakes to avoid during summer bud grafting?
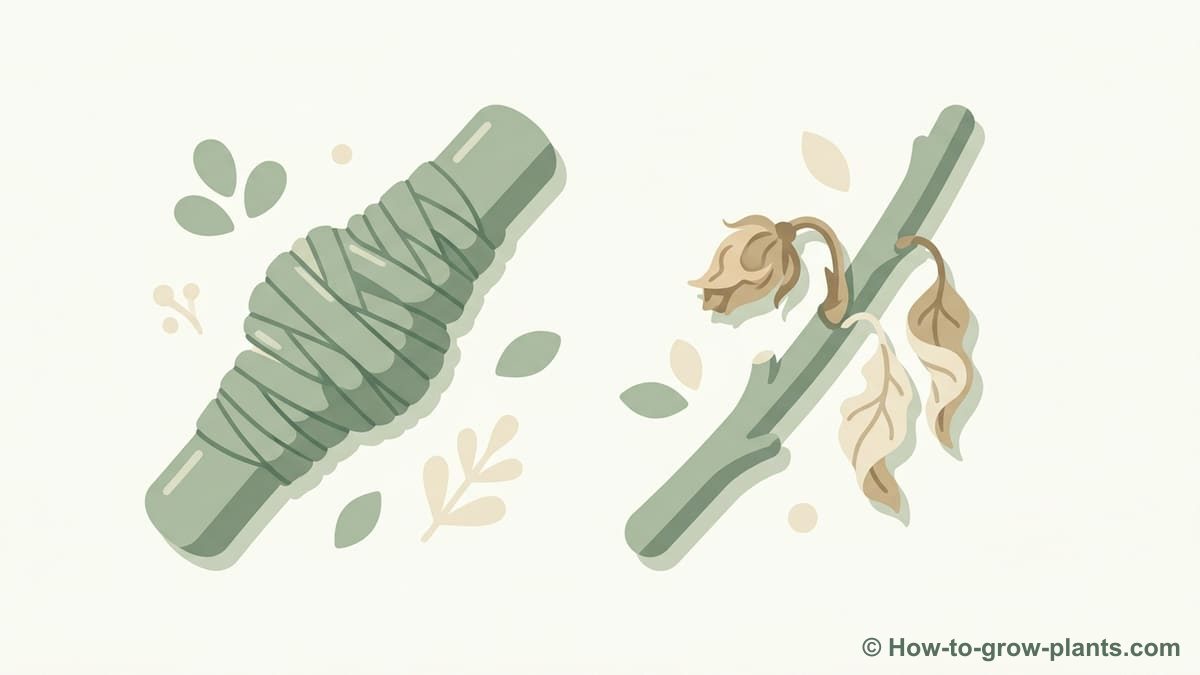
As a beginner, it's easy to make mistakes. By knowing them, you will significantly increase your chances of success:
- Lack of sap: Grafting when the rootstock lacks sap (e.g., during a dry period without prior watering) prevents the bark from peeling easily and harms cambium contact. Always check the vigor of the apical bud and water beforehand.
- Immature scions: Using soft or actively growing shoot tips will lead to failure. Ensure your scions come from mature, lignified wood, identifiable by a hardened terminal bud.
- Lack of hygiene: Not disinfecting your grafting knife between cuts or between different trees can spread diseases (bacteria, viruses). A simple alcohol spray is effective.
- Loose tying: If the bud is not firmly held against the rootstock, air pockets can form, drying out the bud before it can unite. Ensure a firm and secure tie that covers all cuts (essential for Chip budding) but leaves the bud exposed for T-budding.
- Excessive wood removal: When taking the bud, avoid taking too much hard wood from the center. The crucial tissues for union are in the outer layers; too much internal wood will prevent the graft from taking.
- Premature removal of tying material: Removing the elastic too early will disrupt the delicate union before it is strong enough. Wait the recommended 2-3 weeks (or more if sap was low) to ensure complete taking.
- Late removal of plastic (Chip Budding): For chip budding, where the bud is completely covered, leaving the tape on too long (especially during winter) can suffocate and rot the bud. Remove it before the cold arrives.
By following these tips and paying attention to detail, you will succeed in your fruit tree grafts. Don't hesitate to practice; mastery comes with experience!