Successful Crown Grafting: The Step-by-Step Guide
Step 1What is crown grafting and when to perform it?

Crown grafting is a grafting method that involves inserting one or more scions (branches of the desired variety) between the bark and the wood of a rootstock. It is particularly effective for medium to large diameter rootstocks, allowing old fruit trees to be rejuvenated or their variety to be changed. Its simplicity and high success rate make it accessible to amateur gardeners and small arborists.
The optimal time to perform crown grafting is in early spring, generally from March to April. This is the period when sap rises abundantly in the rootstock, facilitating the detachment of the bark. This sap flow is crucial as it ensures excellent contact between the cambiums of the scion and the rootstock, which is essential for fusion and healing. It is recommended to operate in mild and dry weather, avoiding periods of frost or heavy rain.
Warning: The video emphasizes that this technique allows you to graft "almost anything quite easily". Keep in mind that grafting fruit trees from seeds does not guarantee the reproduction of the parent's commercial variety. Grafting is the only reliable method to reproduce a specific variety with its unique characteristics.
Step 2Which rootstock is suitable for crown grafting?
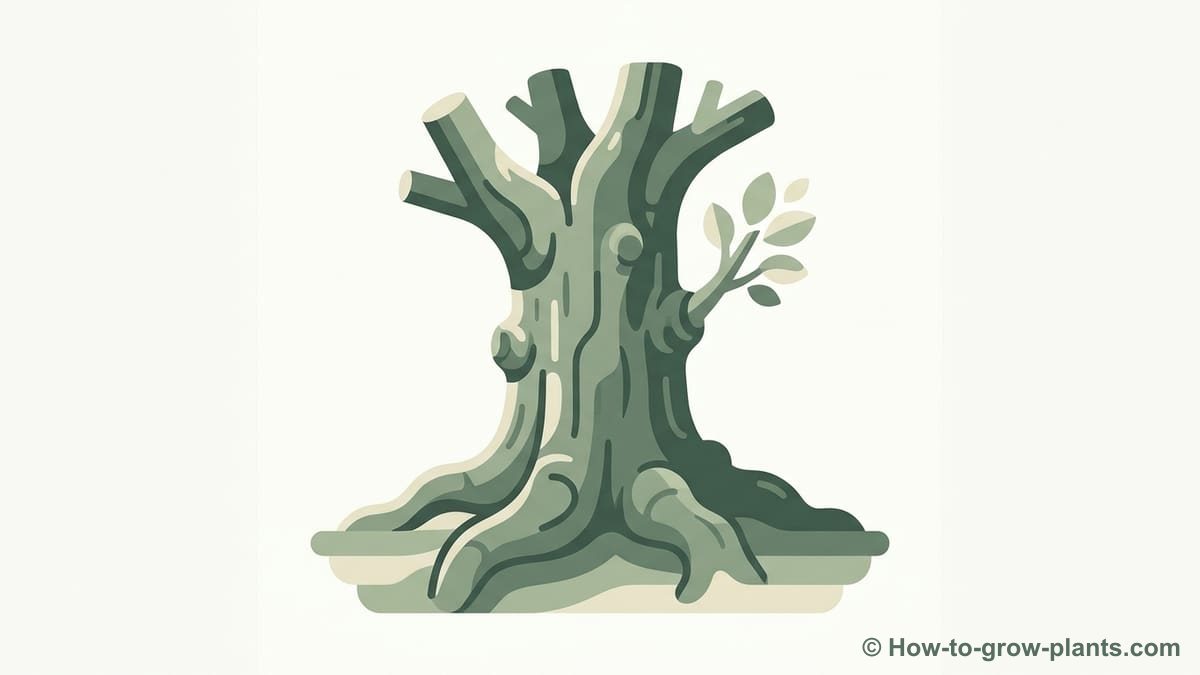
Crown grafting excels on good diameter rootstocks, generally between 3 and 10 cm, or even more. A sufficient diameter offers a large surface to insert several scions and guarantees an adequate sap flow for their nourishment. The video shows an example on a hawthorn used as a rootstock for a medlar, illustrating the versatility of this technique.
Choose a healthy and vigorous rootstock. The diameter must allow the insertion of two to four scions, depending on its size. For beginners, the video suggests grafting a little higher to have a margin of error. However, on rootstocks like hawthorn that tend to sucker from the base, it is often preferable to graft lower to better manage unwanted regrowth.
Step 3What tools and materials are needed?
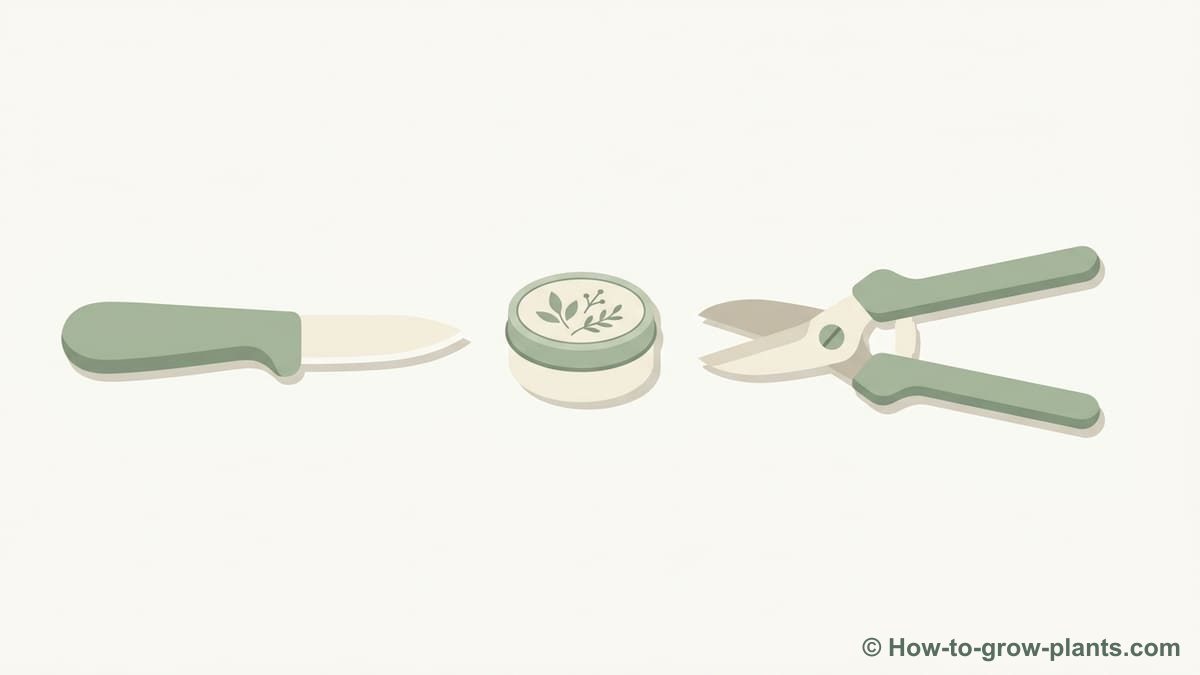
For successful crown grafting, gather the following tools, all clean and sharpened:
Pruning Saw
Use a well-sharpened pruning saw to make a clean horizontal cut on the rootstock.
- Ensure the cut is perfectly flat.
- Sterilize the blade before and after each use (alcohol or disinfectant).
Grafting Knife
A very sharp grafting knife is essential for precise cuts on the rootstock and scions.
- It is used to clean the cut surface of the rootstock.
- To make the bevels and shoulder of the scion.
- To gently lift the bark of the rootstock.
Pruning Shears
Keep clean pruning shears to cut the scions to the correct length and remove unwanted shoots.
- Remove small branches or thorns that might hinder grafting.
- Cut the scions to leave only 1 to 3 buds.
Grafting Wax and Tie
Grafting wax is essential to protect the graft area against diseases and dehydration.
- Use an elastic tie (such as 'Elastiband' or raffia) to firmly hold the scions.
- Apply the wax generously to all cut surfaces.
Step 4How to select and prepare scions?
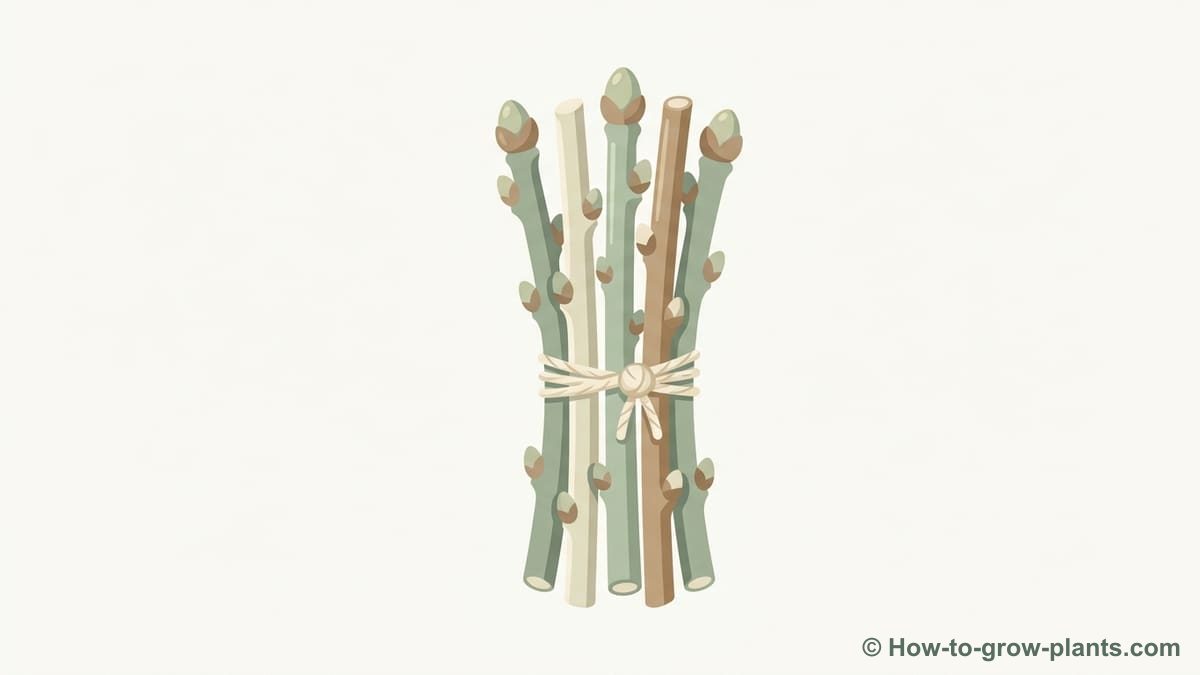
The success of your crown graft largely depends on the quality and preparation of your scions. Always choose dormant wood from the previous year, ideally harvested in January and kept cool and moist (for example, in a plastic bag in the refrigerator or in damp sand) until grafting time. This ensures that the scions remain dormant while the rootstock is fully active.
Choose healthy scions
Select straight, healthy shoots, about the thickness of a pencil, with well-formed buds. Avoid buds located at the ends of the shoots, which are often less vigorous.
- Check for the absence of diseases or damage.
- Ensure the wood is well lignified.
Create the bevel
Using the grafting knife, make a long, clean, and regular bevel cut on one side of the scion, about 3 to 4 cm long.
- The cut must be smooth and flat.
- Avoid touching the cut surface with your fingers to prevent contamination.
Form the shoulder
At the upper end of the bevel, make a small, shallow cut to form a "shoulder". This cut allows the scion to rest better on the rootstock and promotes vascularization.
- The shoulder is optional but highly recommended for better contact.
- The cut must be clean and sharp.
Remove opposing bark
On the side opposite the long bevel, gently remove a thin strip of bark about 1 cm long, exposing the cambium.
- This exposed cambium will come into direct contact with the inner cambium of the rootstock.
- This maximizes the contact surface for cellular fusion.
Trim the scion
Cut the scion so that it has only two to three healthy buds. The video example shows a two-bud scion.
- An excessive number of buds can stress the scion; too few can reduce the chances of success.
- Make a clean horizontal cut about 0.5 cm above the top bud.
Step 5What are the detailed steps for cutting and inserting scions?
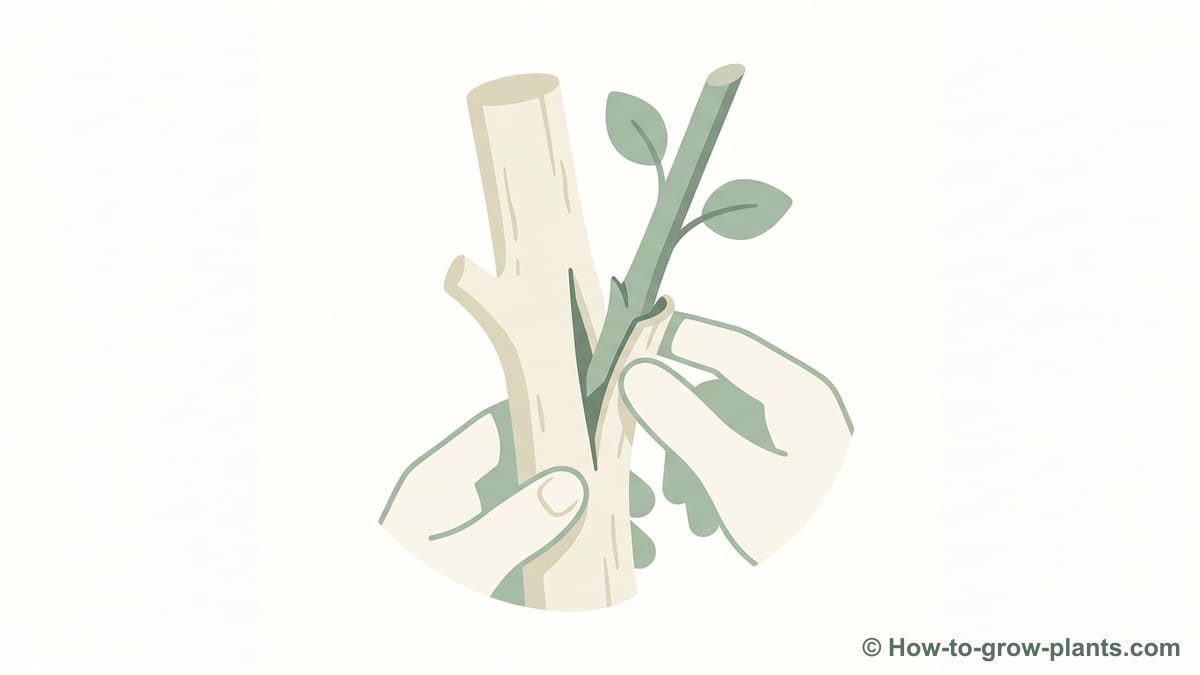
Follow these precise steps to ensure optimal contact and a high success rate for your crown graft:
Cut and clean the rootstock
With a saw, make a clean, horizontal cut on your rootstock at the desired height. Remove any roughness or wood splinters with the grafting knife to obtain a smooth surface.
- Sterilize your saw and grafting knife before cutting.
- For beginners, graft higher to allow for a second attempt if necessary.
- For rootstocks that sucker (like hawthorn), graft lower to better control suckers.
Incise the rootstock bark
With the grafting knife, make vertical incisions in the rootstock bark, about 2 to 3 cm long, slightly longer than the scion's bevel.
- Space the incisions evenly around the circumference of the rootstock.
- The number of scions depends on the diameter (2 to 4 scions).
Lift the bark
Gently lift the bark from one side of each incision. The goal is to create a pocket for the scion, ensuring that the exposed cambium of the scion meets the inner cambium of the lifted bark.
- Sap flow must be sufficient for the bark to peel easily.
- Only lift the bark on the side where the stripped cambium of the scion will be in contact.
Insert the scions
Carefully slide each prepared scion into the pocket under the lifted bark. The side of the scion where the bark has been removed should face the wood of the rootstock, and the beveled side towards the lifted bark.
- Push the scion until its shoulder rests firmly on the cut surface of the rootstock.
- Ensure perfect alignment of the cambial layers of both parts.
Step 6How to ensure proper healing and protection of the graft?
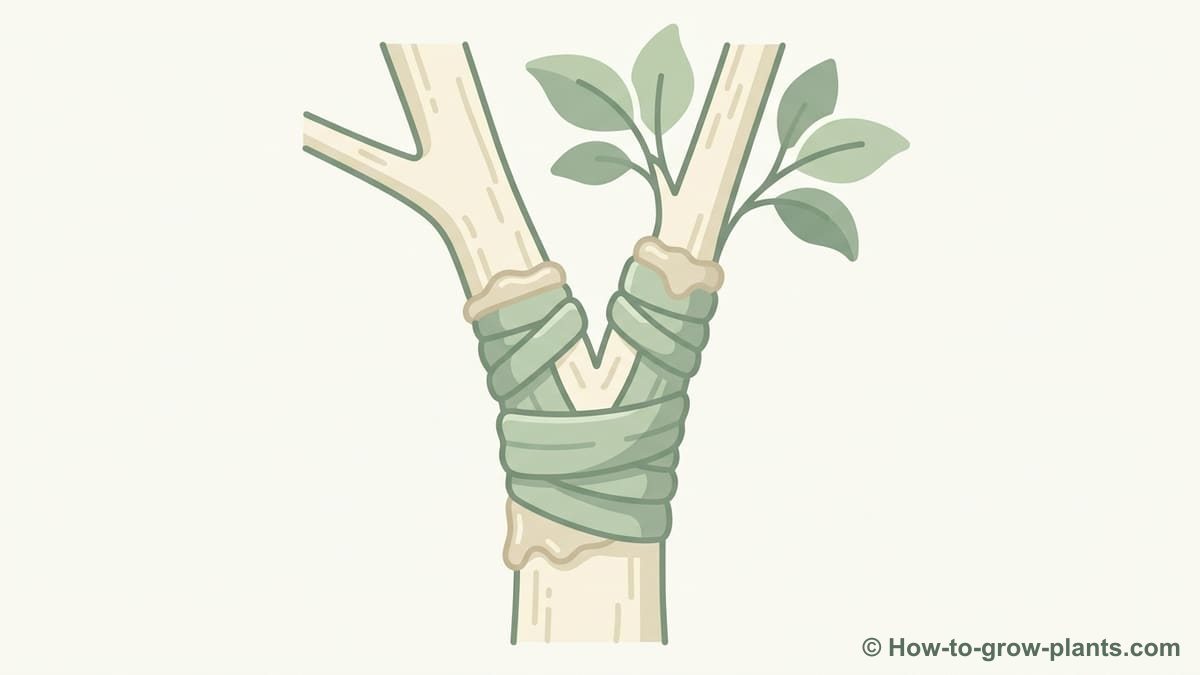
Once the scions are inserted, proper tying and adequate protection are vital for healing and to prevent dehydration or infections.
Tie with grafting tape
Firmly wrap the graft union with elastic grafting tape. This holds the scions in place and ensures constant cambium contact.
- Start from the bottom and work your way up, overlapping slightly.
- Apply uniform pressure without strangling the rootstock.
Apply grafting wax
Generously cover all cut surfaces (top of the rootstock, perimeter, and ends of the scions) with grafting wax.
- This prevents moisture loss and protects against pests and diseases.
- As recommended in the video, avoid touching the wax with bare hands.
Protect against pests
After applying the wax, consider adding physical protection against birds, deer, or other animals. A simple stake or net can be effective.
- A vertical stick placed near the graft can deter birds from perching on young scions.
- For larger animals, use a protective cage or mesh.
Step 7The role of the sap draw and post-graft care
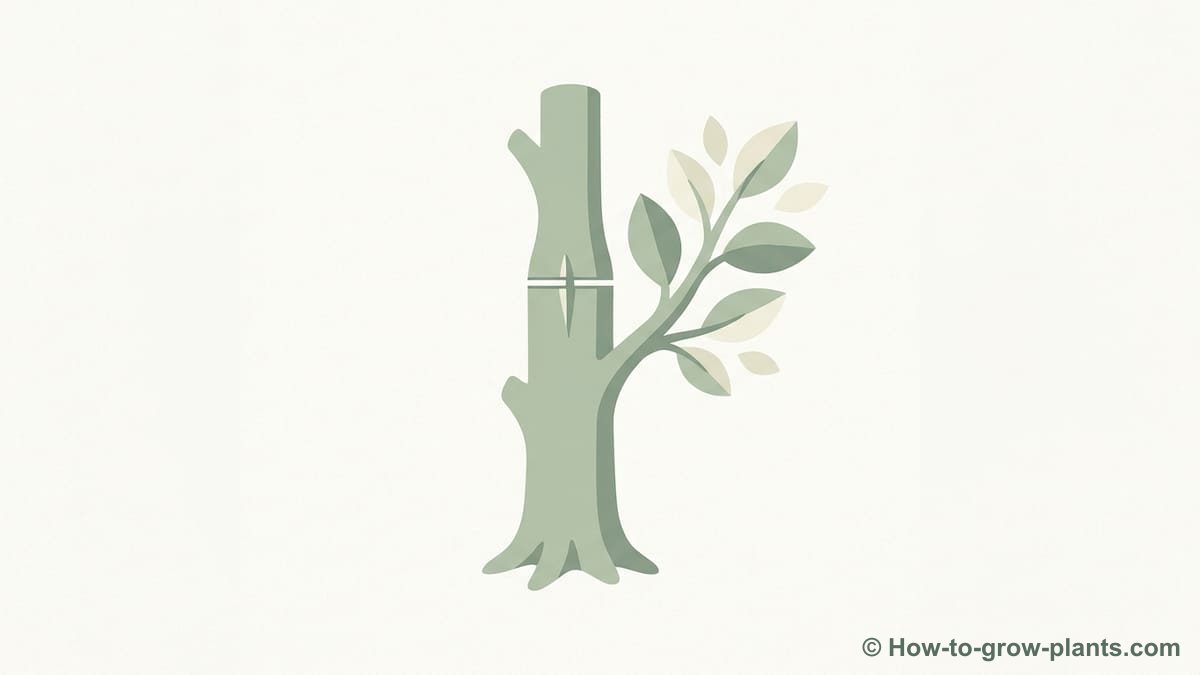
A "sap draw" is a small branch intentionally left below the graft, directly on the rootstock. Its role is to maintain sap circulation and promote its influx towards the scions. This continuous flow encourages the graft to take. Once the graft has "taken" (generally after about a month, visible by the appearance of new shoots), the sap draw must be removed so that all the sap is directed towards the scions.
For maintenance, regularly monitor the graft. Remove any suckers or shoots appearing on the rootstock below the graft point. These competing shoots divert sap to the detriment of the scions. The goal is to ensure that all the rootstock's energy is used to nourish the grafted variety.
Step 8What are the advantages of crown grafting?
Crown grafting offers several distinct advantages, particularly for amateur gardeners and small arborists:
- Simplicity: It is one of the easiest grafting techniques to master, making grafting accessible to beginners.
- High success rate: When performed correctly and at the right time, crown grafting has a high chance of taking, giving confidence to the grafter.
- Versatility: It works exceptionally well on medium to large diameter rootstocks, which would be too thick for other methods such as whip-and-tongue or cleft grafting.
- Multi-scion: It is possible to insert several scions around the rootstock, which increases the chances of success and allows for more balanced branch development.
- Rapid healing: The extended contact between the cambium of the scion and that of the rootstock promotes rapid callogenesis (callus formation) and healing.
Step 9How to identify and avoid common errors in crown grafting?
Even with a relatively simple technique like crown grafting, certain errors can jeopardize success. Pay close attention to these common pitfalls:
- Grafting in freezing or rainy weather: Absolutely avoid these conditions. Frost can kill delicate cambium cells, and rain can introduce pathogens and prevent grafting wax from adhering properly.
- Touching cut surfaces: Never touch freshly cut surfaces of the scion or rootstock with your bare hands. Your skin contains oils and bacteria that can hinder healing and introduce diseases.
- Dull or dirty tools: Only use sharpened and sterilized tools. Dull blades create irregular cuts that heal poorly, and dirty tools can spread diseases. Sharpen your tools regularly and disinfect them before each use.
- Poor cambium alignment: The most crucial aspect of grafting is ensuring perfect contact between the cambial layers of the scion and the rootstock. If these layers do not meet, the graft will fail.
- Improper scion storage: Scions must be kept dormant and moist until grafting. If they dry out or begin to bud prematurely, their viability will be greatly reduced.
- Neglecting protection: Failing to properly seal all cut surfaces with grafting wax, or omitting physical protection against birds and other animals, can lead to graft failure due to dehydration or damage.
Graft monitoring and labeling
A final, often overlooked but crucial step for long-term success, is keeping accurate records and labeling your grafts. The video emphasizes the importance of:
- Noting the variety: Clearly label the type of fruit or plant grafted.
- Recording the date: Note the exact date the graft was performed.
- Establishing a plan: For multiple grafts, maintain a physical map or plan of your garden, indicating where each variety is grafted.
- Labeling the tree: Attach a durable label directly to the grafted tree, including the variety and date. This avoids confusion as the tree grows.
Accurate records are invaluable for tracking success rates, understanding what works best in your specific environment, and knowing what fruits you will harvest in the years to come. This practice aligns with best horticultural practices.
Frequently asked questions
What is crown grafting?
Crown grafting is a grafting method that involves inserting a scion (desired plant part) between the bark and wood of a larger diameter rootstock. It is known for its simplicity and effectiveness.
When is the best time to perform crown grafting?
The ideal time for crown grafting is in early spring, generally from March to April, when the sap is rising strongly. This facilitates bark detachment and ensures good cambial contact.
What type of rootstock is suitable for crown grafting?
Crown grafting is best suited for medium to large diameter rootstocks (between 3 and 10 cm). This provides a stable base and enough space to insert multiple scions, thus increasing the success rate.
How many scions should I use in a crown graft?
You can insert two to four scions, depending on the diameter of your rootstock. Using multiple scions increases the chances that at least one will successfully take.
What is a "sap draw" and should I use one?
A "sap draw" is a small branch left on the rootstock below the graft to maintain sap flow, which encourages scion growth. It is recommended for large rootstocks and should be removed once the graft has taken (about a month).
How do I protect my crown graft?
Protect your graft by applying grafting wax to all cut surfaces to prevent dehydration and infection. Also consider physical barriers like a stake or net to deter birds and animals.
What are common mistakes to avoid in crown grafting?
Avoid grafting in freezing or heavy rain, touching cut surfaces with bare hands, using dull or dirty tools, and failing to ensure proper cambium alignment. Proper scion protection and storage are also essential.