How to Master Cleft Grafting for Guaranteed Results?
Step 1What is Cleft Grafting and what does it involve?
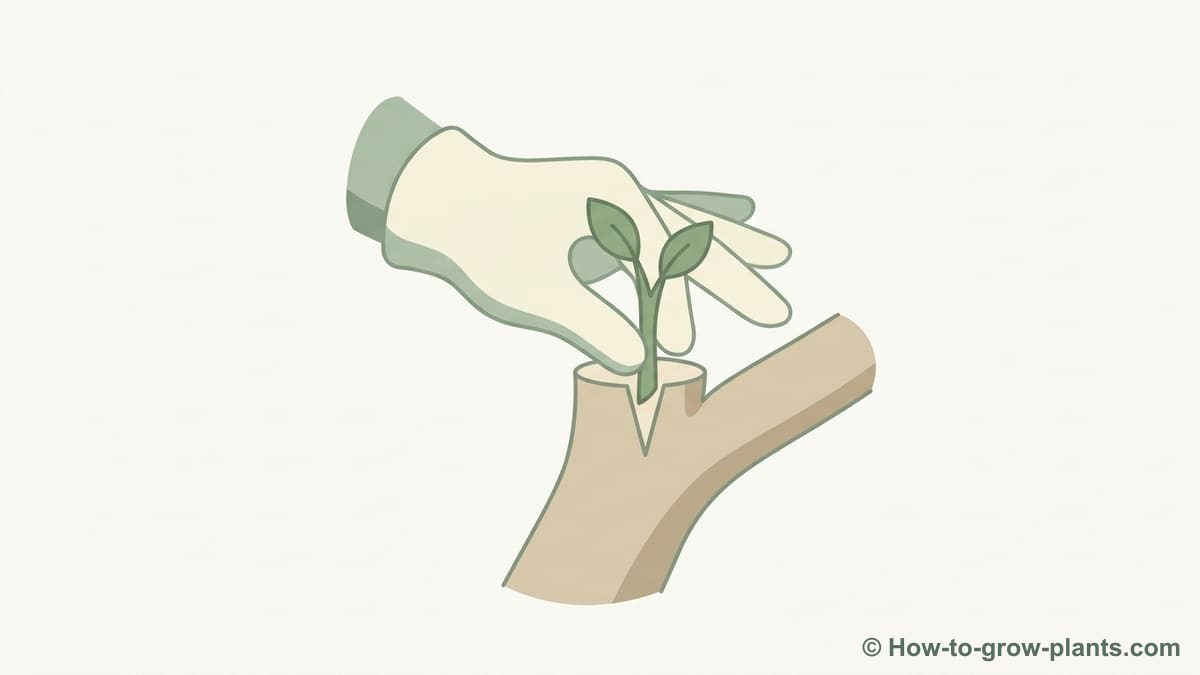
Cleft grafting is a horticultural technique that consists of joining a scion (a part of the desired plant) to a rootstock (the receiving plant), so that they grow as a single organism. Specifically, it involves inserting one or more scions into a slit made at the top of a rootstock trunk or branch.
The main objective is to align the cambial layers (the thin green layer just under the bark) of the scion and the rootstock. This alignment is crucial because it is from there that healing and tissue fusion will begin, allowing sap and nutrient circulation. Cleft grafting is particularly suitable for rootstocks whose diameter is significantly larger than that of the scion, generally between 1 and 5 centimeters.
Step 2Advantages and disadvantages of cleft grafting
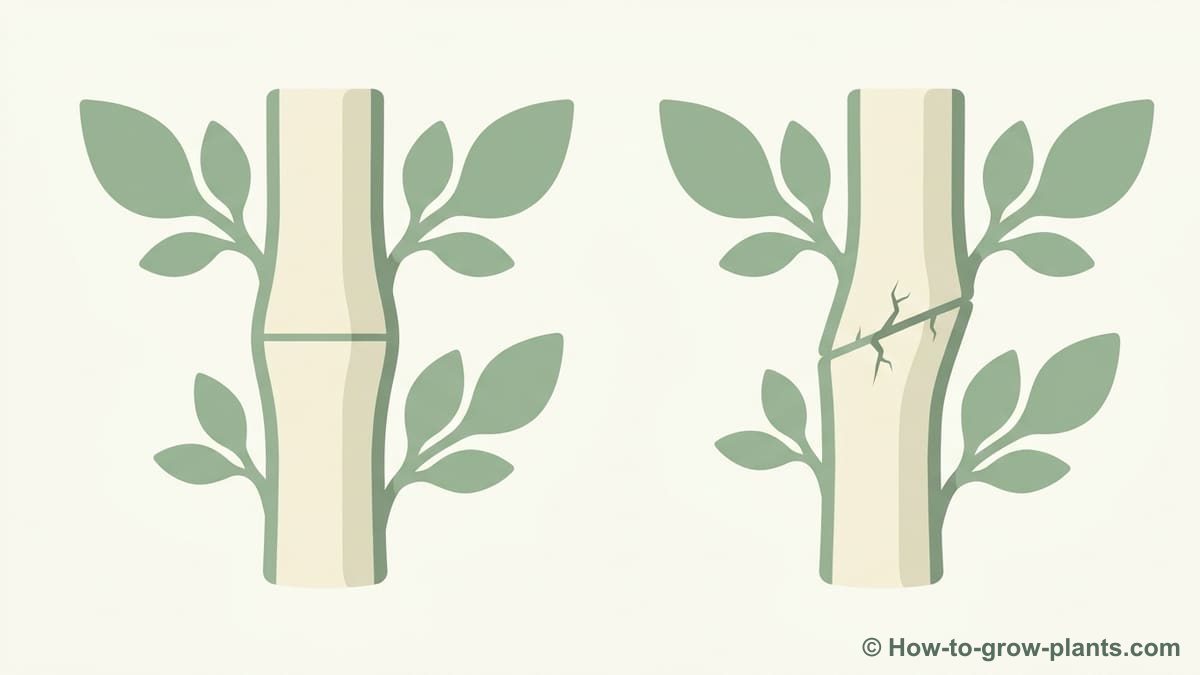
Each grafting technique has its specificities. Understanding those of cleft grafting helps you choose the most appropriate method for your fruit trees.
| Aspect | Advantages of cleft grafting | Disadvantages of cleft grafting |
|---|---|---|
| Simplicity | Relatively simple to perform, even for beginners, requiring fewer precise cuts than whip and tongue grafting. | Can be traumatic for the rootstock due to the deep cleft, requiring good protection. |
| Rootstock diameter | Ideal for rootstocks of 1 to 5 cm in diameter, where other methods (like whip and tongue grafting) are difficult to apply. | Less suitable for very small diameters or very thin scions. |
| Success rate | Good success rate if cambiums are well aligned and the graft is properly protected. Allows for the insertion of two scions, increasing chances. | Poor sealing or misalignment can lead to failure. |
| Versatility | Can be used to change variety on an existing tree (topworking) or to create new trees. | The cleft can take longer to heal completely if not perfectly filled. |
Although simple, cleft grafting is robust. It is an excellent alternative when the rootstock is too large for whip and tongue grafting, which requires similar diameters. It is a preferred method for transforming an existing tree or multiplying varieties.
Step 3When is the optimal period to perform cleft grafting?
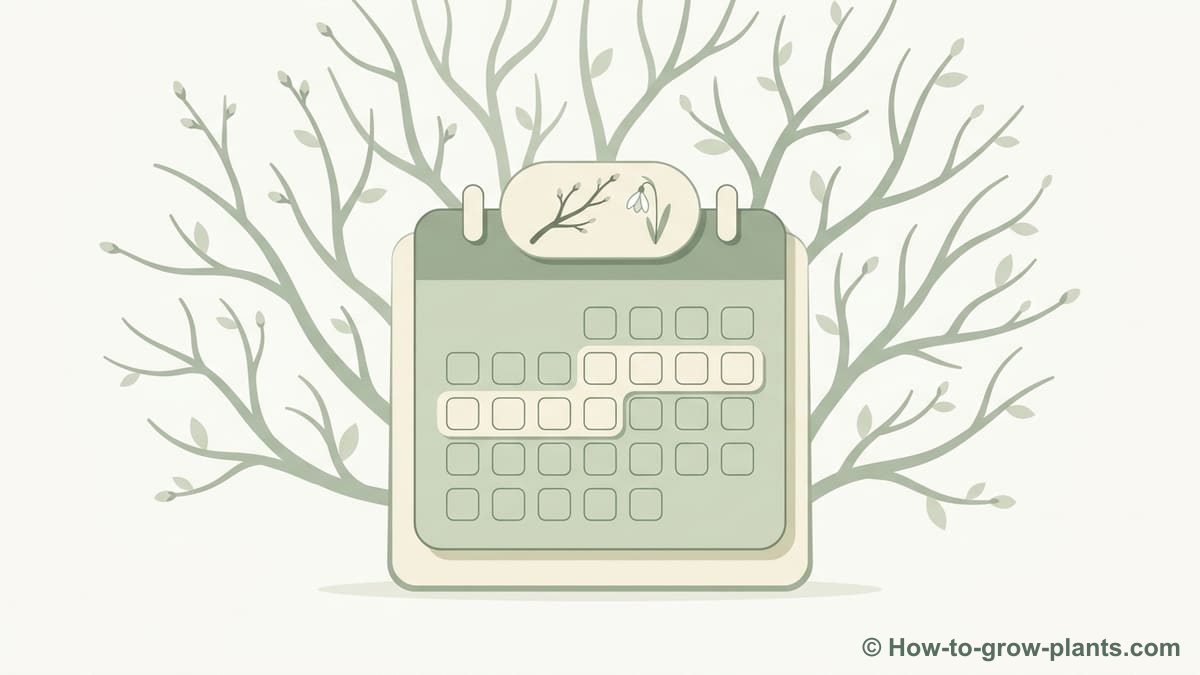
The success of your graft crucially depends on the right timing. For cleft grafting, the ideal period is in early spring, when the tree emerges from its winter dormancy. More precisely:
- Precise period: February-March in temperate regions, as soon as intense frosts are over and before the rootstock buds break.
- Climatic conditions: It is imperative to operate in mild weather, without strong wind or rain, and especially without frost. Ideal temperatures after grafting are between 5°C and 15°C to promote take.
- Sap state: The rootstock must be in full sap flow. The rootstock buds begin to swell. The scions, however, must be collected in winter (November-December) and kept dormant in a cool place (refrigerator, damp cellar) until grafting.
Why is this period crucial?
The rising sap of the rootstock activates the production of healing calluses, essential for tissue fusion. A dormant scion then “wakes up” thanks to this sap, starting its growth once the union is established. Frost and excessive humidity after grafting are the enemies of take, as they can damage tissues or promote diseases.
Step 4Necessary tools and their preparation
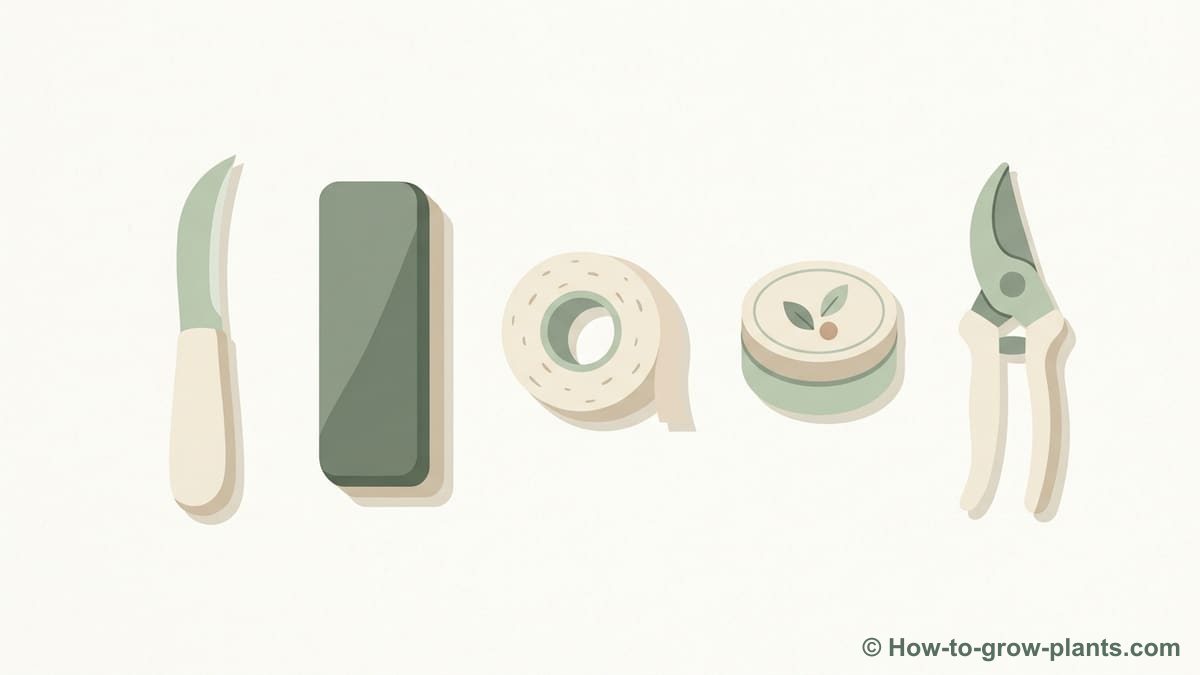
Good grafting starts with good, clean, and sharp tools. This is an essential condition for success.
Disinfect tools
Always sterilize your grafting knife and pruning shears before each use. This prevents the spread of diseases from one tree to another.
- Use 90° alcohol or a similar disinfectant.
- Wipe the blades carefully before and after each cut, and between each tree.
- Never neglect this step for the health of your plants.
Sharpen the blades
A razor-sharp blade is essential. It allows for clean and precise cuts, promoting rapid healing and better grafting success. A dull blade tears plant tissues, making fusion difficult.
- Use a sharpening stone or a specialized grafting knife sharpener.
- Maintain a constant angle to obtain a perfect edge.
- Test the blade on a piece of paper: it should cut it smoothly.
Protection material
In addition to cutting tools, plan for materials to tie and protect your graft.
- Grafting tape: Flexiband type or raffia. It must be flexible and resistant to hold the scion firmly.
- Grafting wax: Essential for sealing all wounds and preventing desiccation or the entry of pathogens.
- Cleft spreader (optional): A small tool to keep the cleft open when inserting scions.
Step 5Selection and preparation of rootstock and scion
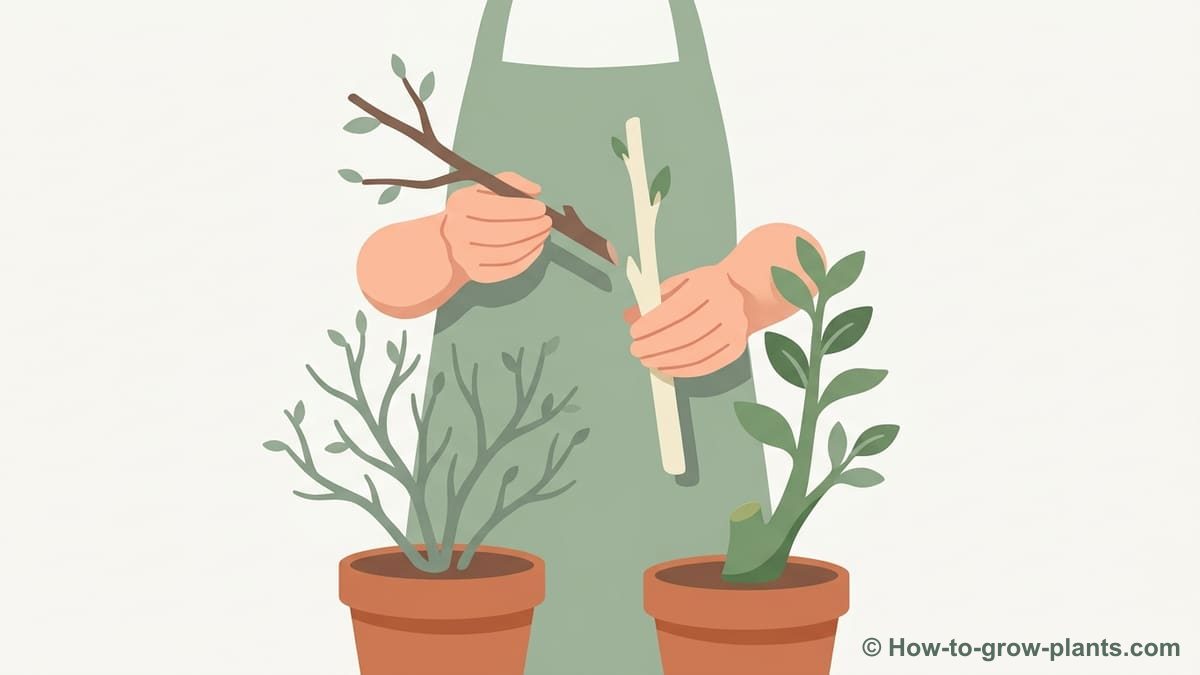
The quality and compatibility of your plant materials are paramount for successful grafting. Follow these steps for optimal results.
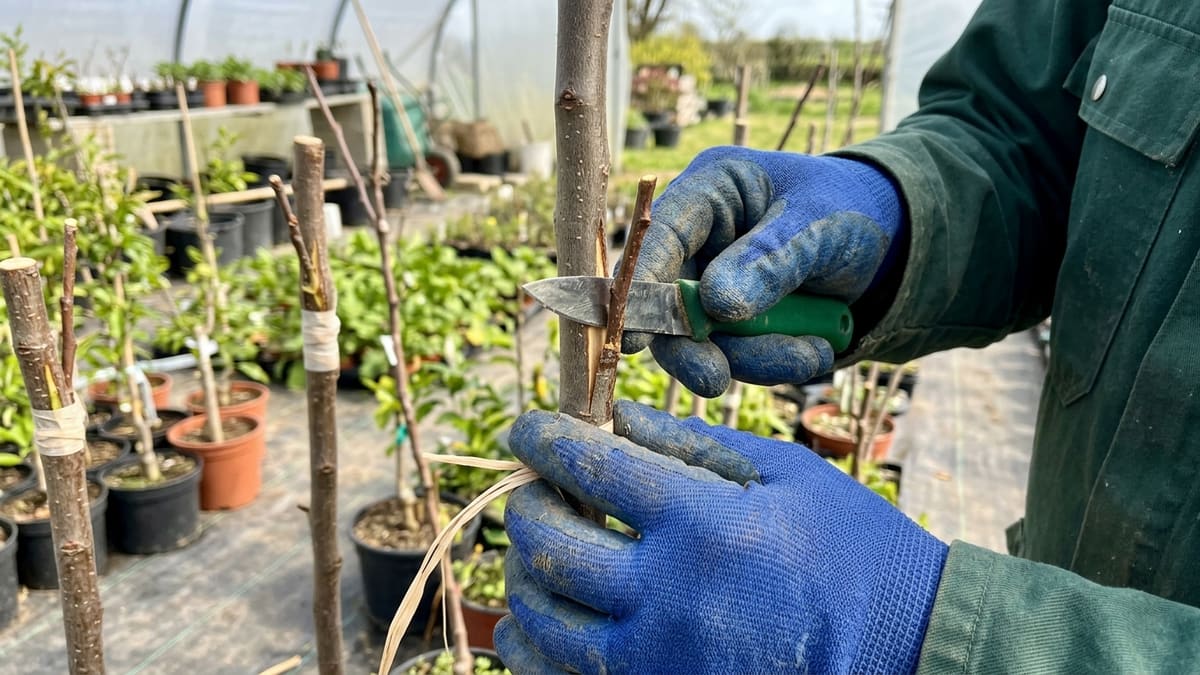
Choosing and preparing your rootstock
For cleft grafting, choose a healthy rootstock, ideally a young tree or a sturdy branch, with a diameter between 1 and 5 cm. The video uses a plum tree (Prunus domestica) intended to be grafted with Ente plum scions to produce prunes.
- Clean horizontal cut: Cut the rootstock horizontally at the chosen height. This cut must be perfectly clean and flat for a good seating of the scion. The bark must not be torn.
- Smooth the wound: Use your grafting knife to perfect the cut surface, removing any torn bark or wood fragments. A smooth surface promotes better healing and prevents the entry of diseases.
- Grafting height: For first grafts, cut the rootstock relatively high. This offers the possibility of redoing the graft lower the following year in case of failure.
Selecting and preparing your scion
Scions are dormant shoots collected the previous winter. Choose healthy and vigorous growths from the previous year. Avoid the too-thin tip and the too-thick base of the shoot.
- Bevel lengths: On the scion, make two smooth, tapered bevels on opposite sides, just below a bud. These cuts should be about 2.5 to 4 cm long, forming a wedge shape.
- Cut quality: Each bevel must be made in a single fluid and clean stroke with the grafting knife to obtain a perfectly flat surface. The side opposite the bud should be slightly thinner to facilitate insertion into the cleft.
- Number of buds: Each scion must have two or three healthy buds. These buds will give rise to the future branches of your grafted tree.
Step 6Detailed steps to perform cleft grafting
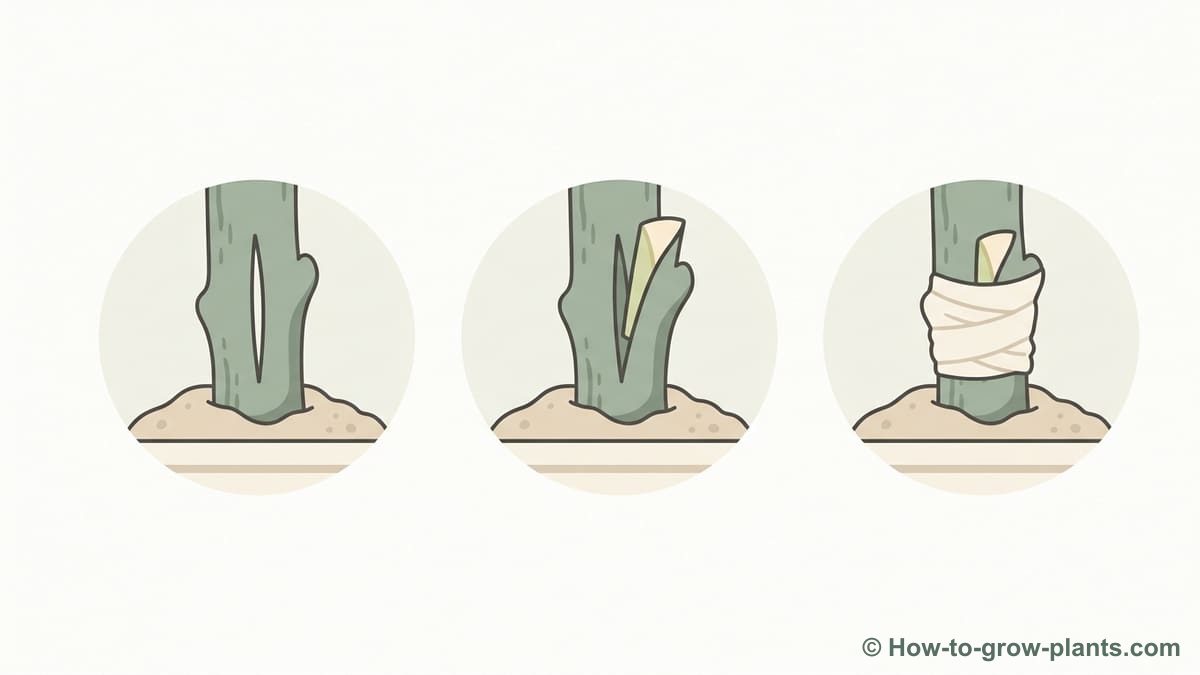
Now that your materials are ready, it's time to assemble the graft. Precision and meticulous execution are the keys to success.
Make the cleft in the rootstock
With your grafting knife, make a central cleft in the upper part of the prepared rootstock. The depth of the cleft must be sufficient to fully accommodate the beveled part of the scion.
- Position the grafting knife exactly in the center of the rootstock's cut surface.
- Drive the grafting knife in by tapping or applying constant pressure to a depth of about 5 to 7 cm.
- Use a cleft spreader or the grafting knife to keep the cleft slightly open without widening it excessively.
Insert the scion(s)
Insert the beveled scion(s) into the cleft, ensuring to perfectly align the cambial layers of the rootstock and the scion. This is the most critical step for a successful union.
- Insert one scion on each side of the cleft if the rootstock is wide enough.
- Ensure that the cambium of the scion (the green line just under the bark) touches the cambium of the rootstock on at least one side.
- The outer bark of the scion should be flush with that of the rootstock.
- The cleft should not close suddenly, as this could crush the tissues. Keep it slightly open while inserting the second scion.
Step 7Protect and care for the graft
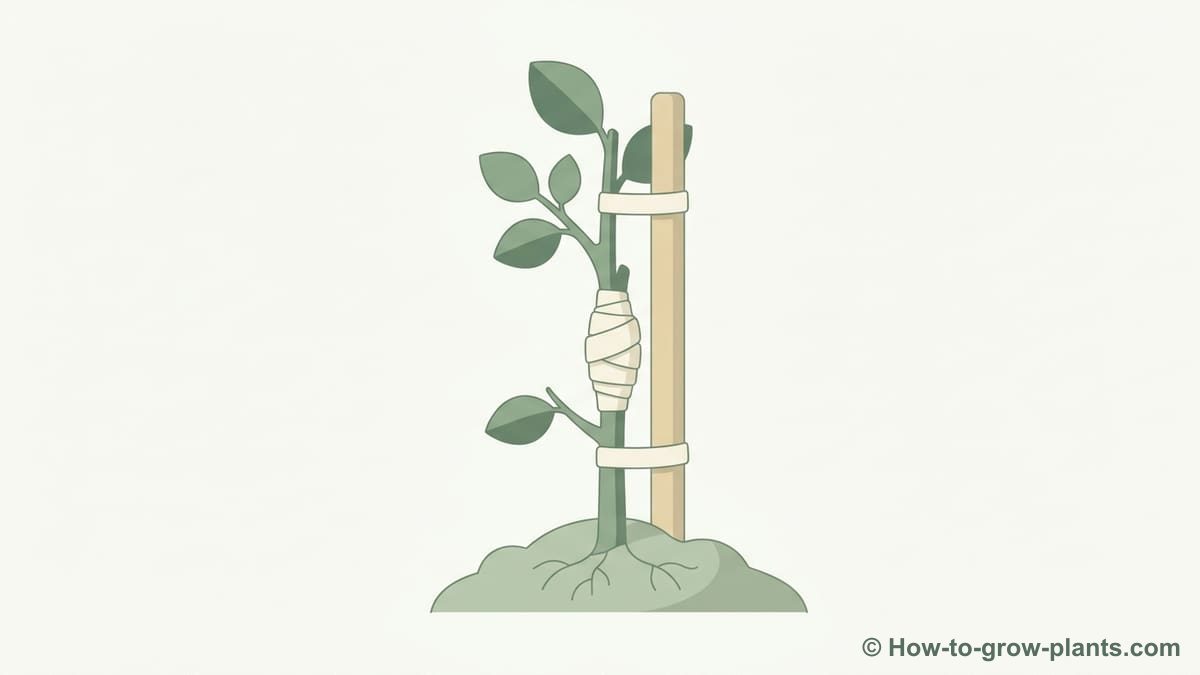
Once the scion is in place, it is essential to protect the graft from desiccation, pests, and environmental aggressions. This final step is crucial to ensure the success of the union.
Tie the graft
Firmly tie the graft using grafting tape (Flexiband or raffia) to keep the scions firmly in place and close the rootstock cleft.
- Start from the bottom and work your way up in a spiral, tightening regularly but without strangling.
- Ensure there are no gaps where water could infiltrate.
- Securely tie the tape with a final knot.
Apply grafting wax
Generously apply grafting wax or tree seal to all exposed cut surfaces. This includes the tops of the scions and all parts of the rootstock not covered by the tape. This prevents desiccation and the entry of diseases or pests.
- Cover the cut ends of the scions to prevent them from drying out.
- Apply to all exposed wood of the rootstock, especially on the cleft.
- Avoid covering the scion buds with the wax, as this could impede their growth.
Protect from wildlife
After sealing, take steps to protect your young graft from birds, rodents, and other animals that could damage the fragile union or developing buds.
- Place a small branch or twig near the graft to deter birds from perching on it.
- Consider a protective net or cage for larger animals like deer or rabbits.
- Regularly check the graft for any signs of damage or bud predation.
Step 8When to favor cleft grafting over whip and tongue or bark grafting?
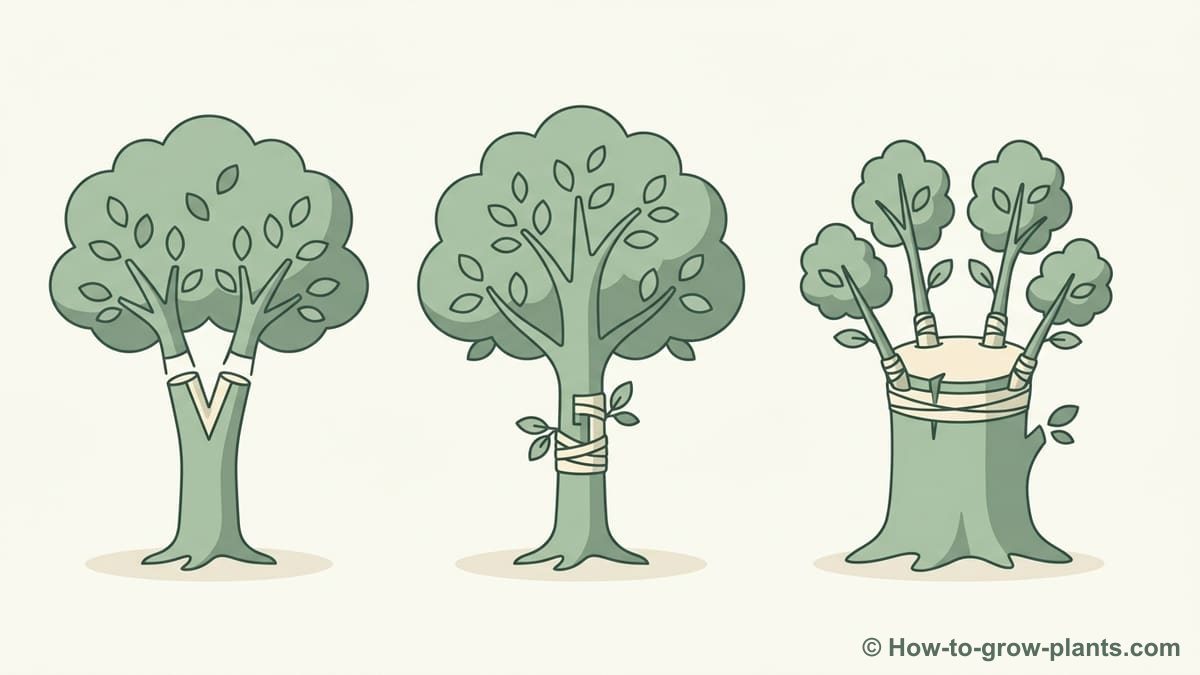
Cleft grafting is a versatile technique, but it is not always the best choice. Here's a comparison to help you decide, based on recommendations from Greffe SAUVAGE and arboriculture experts like those at the Royal Horticultural Society.
Cleft Grafting vs. Whip and Tongue Grafting
- Cleft Grafting: To be preferred for thicker rootstocks (generally 1 to 5 cm in diameter) where whip and tongue grafting would be difficult to perform or would not provide sufficient cambial contact. It is tolerant of scion diameter, which can be slightly smaller than that of the rootstock.
- Whip and Tongue Grafting: Ideal for rootstocks and scions of similar diameters (generally 0.6 to 1.3 cm). This method creates a very strong and interlocking union, maximizing cambial contact and promoting rapid healing. However, it requires very precise and perfect cuts.
Cleft Grafting vs. Bark Grafting
- Cleft Grafting: Can be used when the rootstock bark is too thin or does not peel easily (not in sap). It is suitable for trees where bark peeling, necessary for bark grafting, is not optimal in spring.
- Bark Grafting (or rind grafting): Preferable for large diameter rootstocks (5 to 10 cm and more) whose bark peels easily in late spring (when sap is abundant). This method involves inserting scions under the bark. Note that bark grafting is generally not recommended for cherry trees due to their specific healing characteristics.
Your choice should be guided by the specific characteristics of your rootstock and scion, as well as your comfort with the precision required for each technique. Always prioritize methods that ensure good cambial contact and rigorous protection of the graft.
🏆 Expert Recommendations: Maximize Your Grafting Success
Important warning for seedlings: If you graft a tree grown from seed, be aware that the resulting tree may not produce fruits identical to those of the parent tree. Grafting ensures that the new plant will have exactly the genetic characteristics of the scion, thus bypassing the genetic variability of seeds.
Ready to apply these techniques in your garden or need more personalized advice?
Frequently asked questions
What is the best time of year to perform cleft grafting?
The optimal period for cleft grafting is early spring, generally February-March, when the rootstock emerges from dormancy and sap is rising, but before the scion buds begin to break.
What tools are essential for successful cleft grafting?
You will need a sharp grafting knife or pruning shears, a disinfectant (like 90% alcohol) to sterilize your tools, grafting tape (Flexiband or raffia) to tie the graft, and grafting wax to seal all exposed cuts.
How to choose and prepare the rootstock and scion for cleft grafting?
Choose a healthy rootstock 1 to 5 cm in diameter. Prepare it with a clean horizontal cut. The scion should be a dormant shoot from the previous year, with two or three healthy buds, cut into two smooth bevels about 2.5 to 4 cm long.
Why is cambium alignment so important in cleft grafting?
Cambium alignment is critical because this layer of cells is responsible for growth and healing. When the cambiums of the scion and rootstock are in contact, they can fuse, allowing sap and nutrient circulation, thus ensuring the survival and growth of the graft.
How to protect my newly grafted tree?
After tying the graft with tape, generously apply grafting wax to all exposed cut surfaces to prevent desiccation and diseases. Also protect the graft from birds and other animals by placing a twig or protective netting if necessary.
On what types of fruit trees is cleft grafting most suitable?
Cleft grafting is very effective on most fruit trees such as apple, pear, plum, and cherry trees, especially when the rootstock has a larger diameter than the scion, between 1 and 5 cm.