How to Graft a Persimmon in April with Chip Budding?
Chip budding is an effective method for propagating your fruit trees, especially persimmons. Unlike classic T-budding, it offers greater flexibility in terms of timing. This guide, inspired by the expertise of La pépinière Terra'Terre, will walk you through each key step to maximize your chances of success.
Step 1What is chip budding and its specificities compared to other bud grafts?
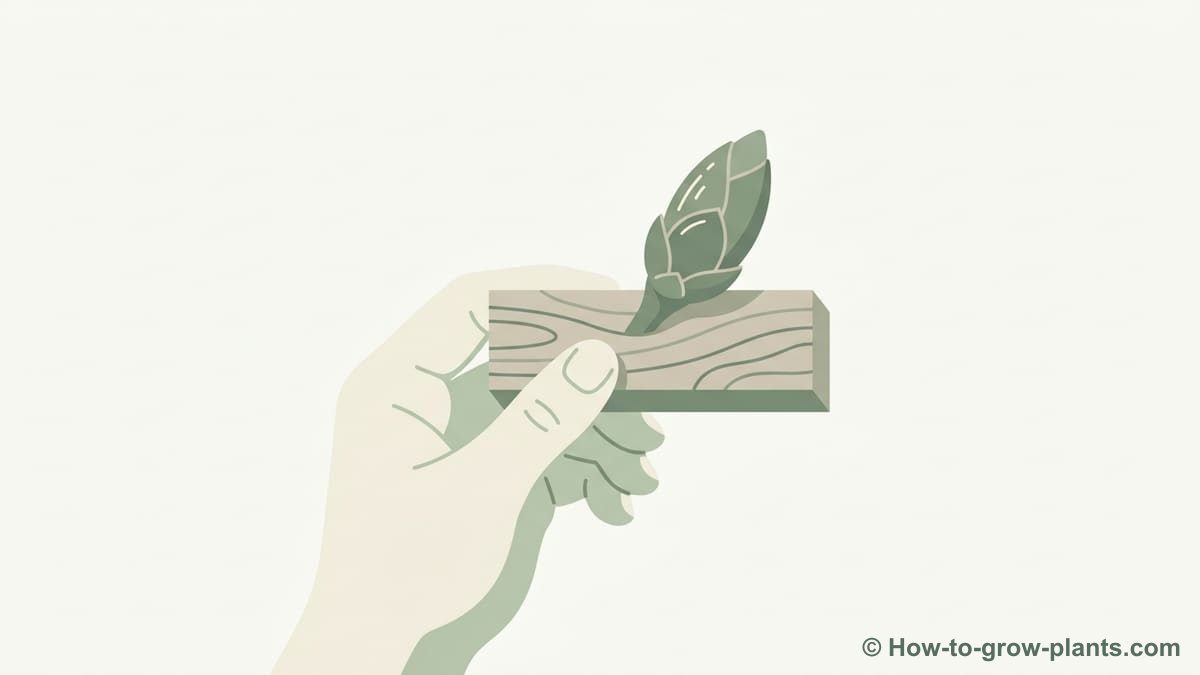
Chip budding is a technique where a single bud (the “chip” or “patch”) is taken from a scion shoot and inserted into a corresponding incision on a rootstock. Its particularity lies in its flexibility, allowing it to be performed when the rootstock is not necessarily in full sap flow, unlike T-budding (budding or T-graft). La pépinière Terra'Terre emphasizes that this method can be performed in spring (April) and late summer (August), thus offering a wider grafting window.
The main distinction from T-budding is how the bud is removed and inserted. In chip budding, a solid block of bark and wood containing the bud is removed and fitted into a identically shaped cavity. T-budding, on the other hand, involves a T-incision and the insertion of a thin slice of bark under the flaps. Chip budding ensures close contact between the cambiums of the scion and rootstock, which is essential for a good union. This technique is favored for many species, including persimmon, for its reliability.
Step 2What material is needed to perform chip budding?
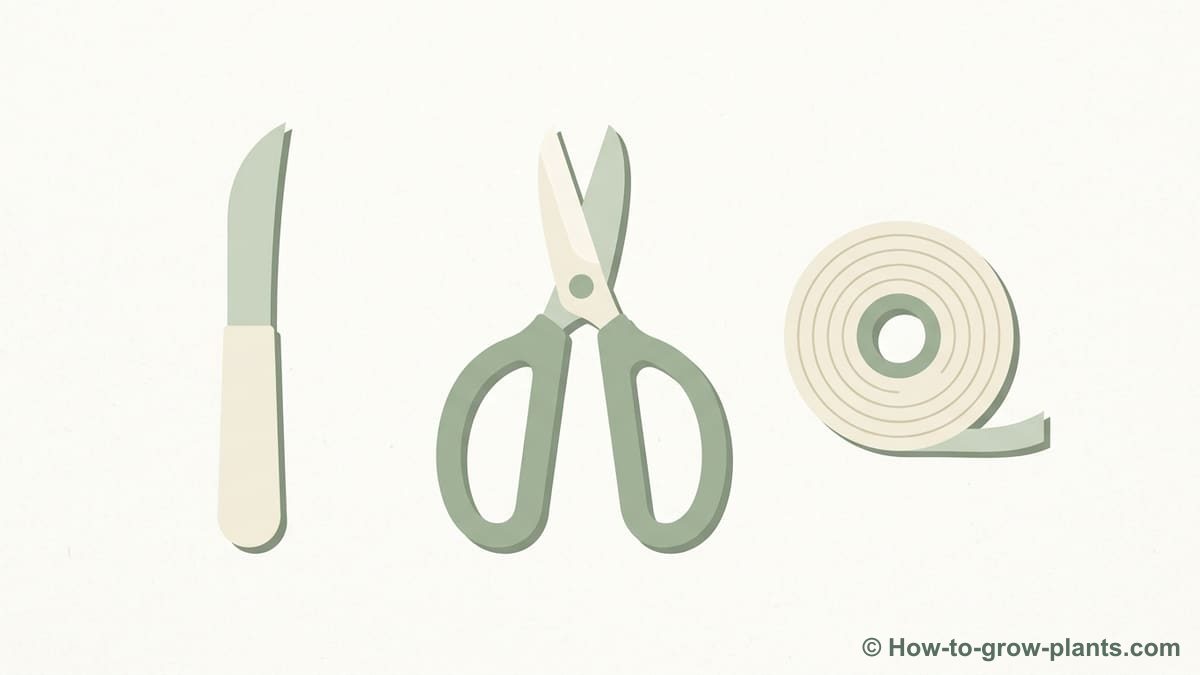
Adequate material is crucial for clean cuts and good healing. Here's what's essential:
Very sharp grafting knife
A perfectly sharpened grafting knife is indispensable. Dull blades tear tissues and compromise the union.
- Sterilize the blade before each use.
- Maintain a razor-sharp edge for clean incisions.
Grafting tape (Buddy Tape or similar)
This specialized tape secures the chip, protects against dehydration, and allows the bud to emerge.
- The video specifically mentions Buddy Tape for its self-adhesive, stretchy, and breathable qualities.
- Other grafting tapes or grafting wax can be used.
Step 3Precise steps for preparing the scion (chip)
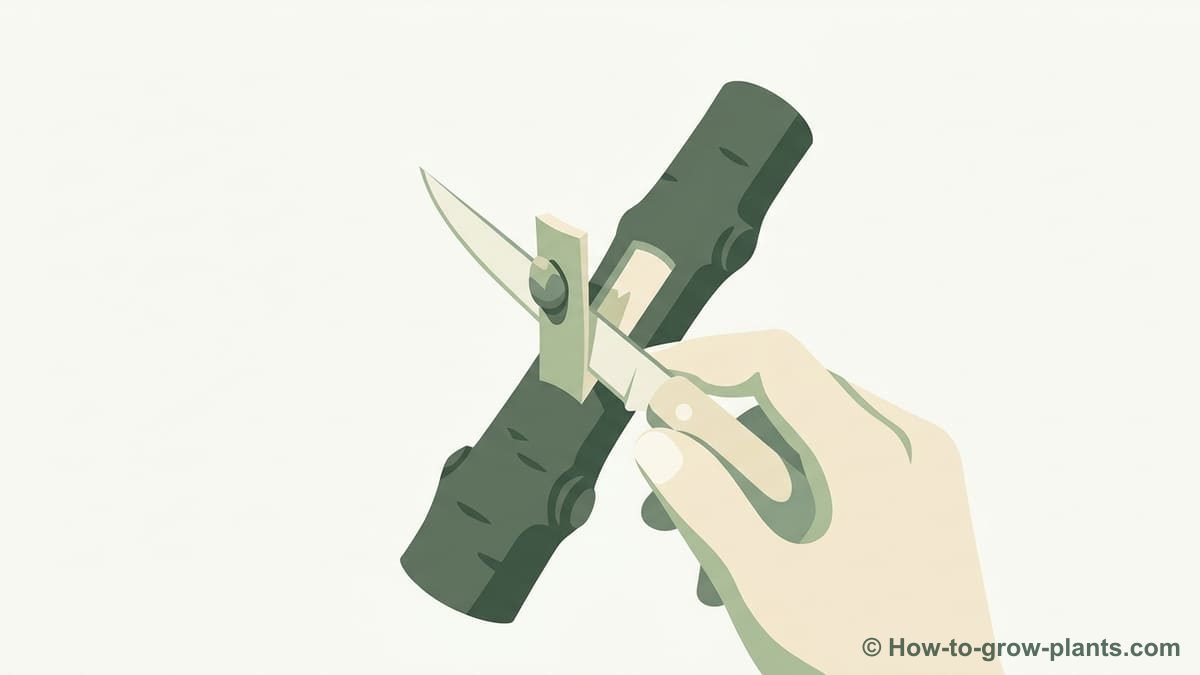
Precision is key when preparing the chip. Follow these steps for perfect removal:
Scion shoot selection
Choose a healthy, dormant shoot of the desired variety. The video shows a woody shoot, indicating a period of inactive sap (an advantage of this method).
- Hold the shoot with the bud facing upwards, towards you.
- This orientation is the opposite of that for T-budding.
First cut
Position your grafting knife about 0.5 cm below the bud. Make a diagonal cut penetrating about a third of the shoot's diameter.
- The cut should be angled, not perpendicular.
- Use a smooth wrist movement, not arm, for precision.
Second cut to free the chip
Place your knife about 1 cm above the bud. Make a second, deeper cut, angled downwards to meet the first.
- Apply slight pressure and slide the knife through the wood.
- The chip, including the bud, should detach cleanly.
- The resulting chip should be beveled at the base.
Step 4How to prepare the rootstock to receive the scion?
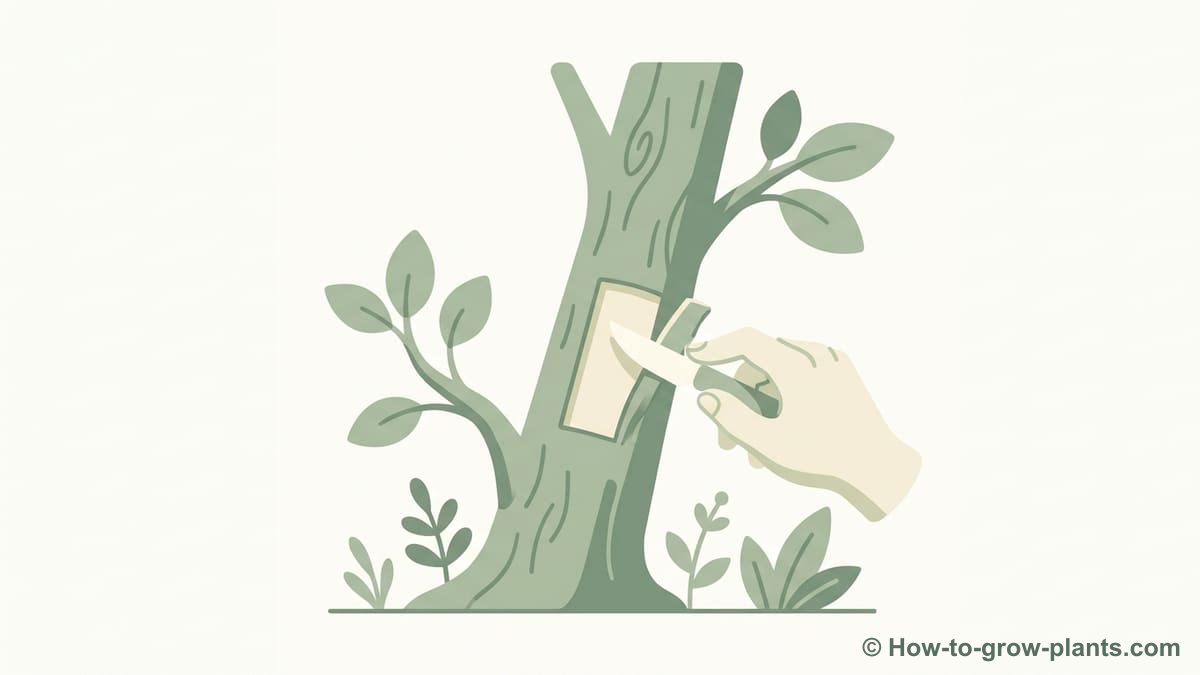
Rootstock preparation is equally crucial for a good union. You need to create a lodging perfectly adapted to the chip.
Choose a smooth section
Select a smooth, knot-free section on your rootstock. This ensures optimal contact between the cambial layers.
- Aim for an area with healthy bark.
- A smooth surface promotes better healing.
First cut on the rootstock
Begin with an upward-sloping cut into the rootstock, similar to the first scion cut. This will be the base of your incision.
- The depth and angle should approximately match the base of your chip.
- This cut defines the base where your chip will rest.
Measure and make the second cut
Position the prepared chip against the rootstock to determine the placement of your second cut. This ensures that the incision precisely matches the length of your chip.
- Start the second cut above where the top of the chip will be.
- Slice gently downwards, replicating the exact shape of the chip.
- The goal is to remove only the bark and a thin layer of wood, exposing the cambium without damaging it.
Step 5How to correctly insert and secure the scion onto the rootstock?
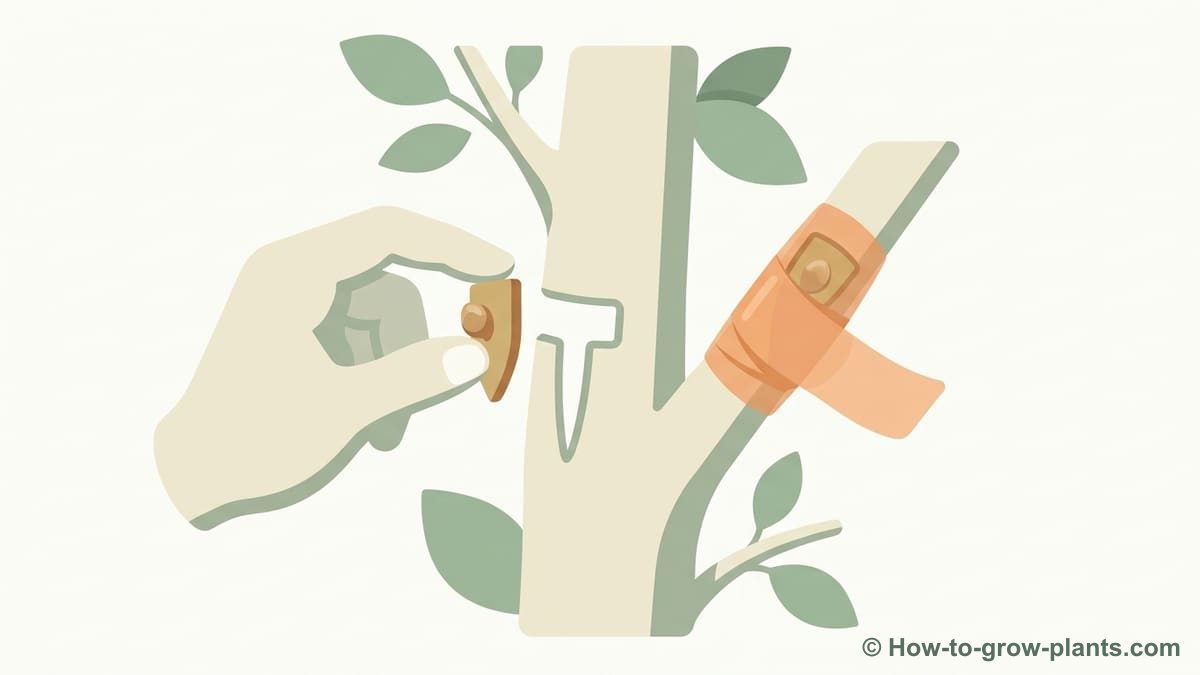
Insertion and securing are vital steps for grafting success. This is where the union forms.
Insert the chip
Gently place the prepared chip into the incision created on the rootstock. It should fit perfectly and hold in place on its own.
- Ensure that the cambial layers of the scion and rootstock align perfectly on at least one side.
- A tight fit is a good indicator of successful cambial contact.
Tie with grafting tape
Immediately wrap the grafted area with grafting tape (like Buddy Tape) to secure the chip and prevent moisture loss.
- Begin wrapping from the bottom of the graft, overlapping the turns.
- Cover the entire chip, including the bud, to protect it.
- The tape should be stretched to create firm pressure, promoting callus formation.
Step 6When can chip budding be performed, especially for persimmon?
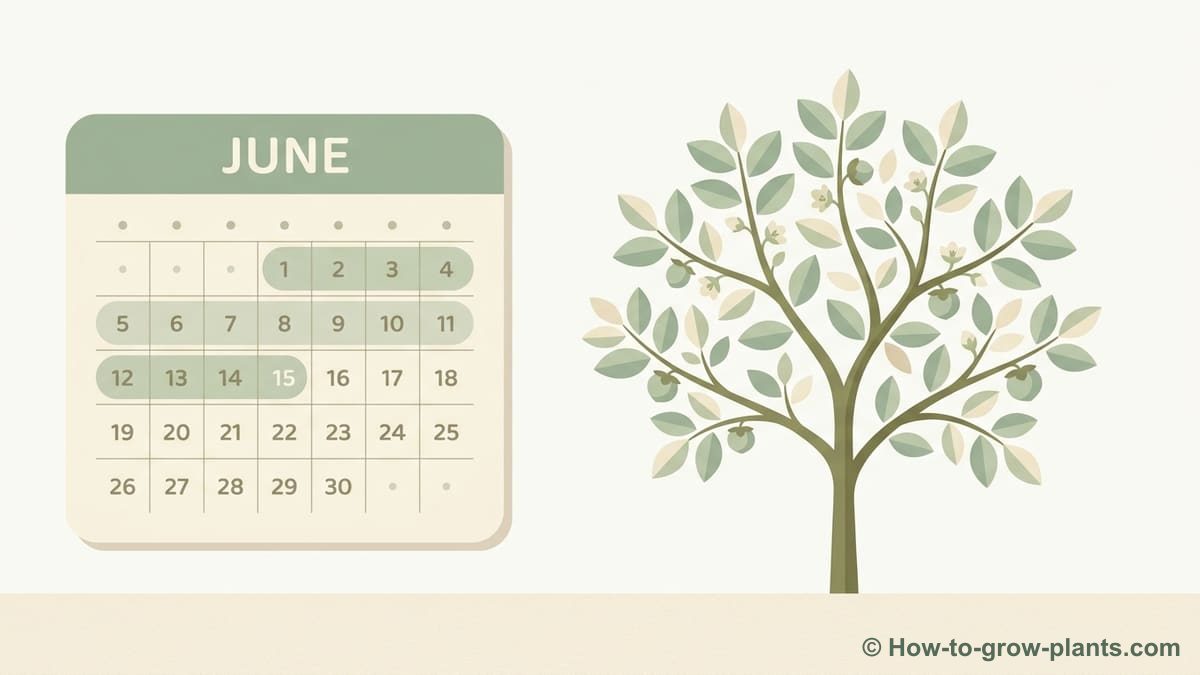
Timing flexibility is one of chip budding's greatest strengths. According to La pépinière Terra'Terre, this method can be practiced during two key periods:
- Spring (April): Ideal for many species.
- Late Summer (August): Another favorable window, when temperatures are still mild and plant growth slows down.
For persimmon specifically, the video emphasizes a crucial detail: the rootstock must be in full sap flow, meaning actively growing and fully leafed. Although the scion itself can be dormant, abundant sap from the rootstock is essential for rapid and successful persimmon take. This requirement is specific to persimmon and differs from the general advantage of chip budding for other species, which precisely allows grafting on less active rootstocks.
⚠️ Important precision for persimmon: Although chip budding is effective, for persimmons, ensure that the rootstock is actively growing with good sap circulation (e.g., fully leafed). Persimmons require robust cambial activity for the graft to take successfully.
Step 7What are the expected results and signs of grafting success?
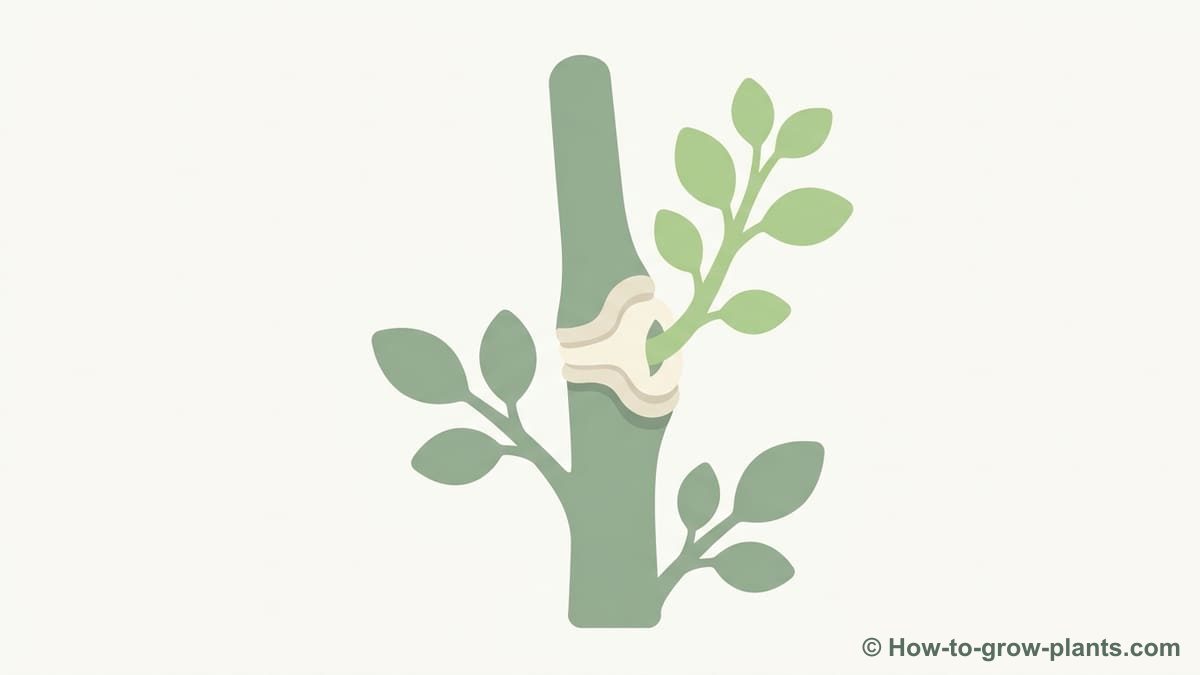
After chip budding, patience is essential. The video shows conclusive results after just over a week for a persimmon. Here are the signs to look for:
Bud swelling and tape piercing
The main sign of success is the swelling of the grafted bud which eventually pierces the grafting tape.
- This indicates that the cambial layers have successfully joined.
- The tape, especially Buddy Tape, is designed to allow the bud to emerge.
Callus formation
Although not immediately visible, successful grafts will form callus tissue between the scion and rootstock, a sign of a strong union.
- This new growth effectively fuses the two parts of the plant.
- You may observe small signs of new growth around the graft site over time.
Keep in mind that grafting is a skill that improves with practice. Don't be discouraged if your first attempts aren't perfect. Refine your technique, especially your cuts, for better results. To explore other techniques, you can consult our guides on cleft grafting or bark grafting.
Step 8Is chip budding suitable for species other than persimmon?
Absolutely! Although the video specifically illustrates chip budding for persimmon, La pépinière Terra'Terre confirms that this method is commonly used for many other fruit species. Its primary advantage—the ability to perform grafting even when the scion is not in active sap—makes it adaptable to a wide range of plants.
Chip budding is a versatile technique for propagating various fruit trees. It is often chosen for its reliability and relatively high success rate when performed correctly, especially for species that might be more difficult to graft with other budding methods.
Frequently asked questions
What is chip budding?
Chip budding is a grafting technique where a single bud (the 'chip') is taken from a scion shoot and inserted into a corresponding incision on a rootstock. It is known for its versatility and can be performed even when the plant is not in full sap, making it suitable for spring and late summer.
When is the best time to perform chip budding?
Chip budding can be successfully performed during two main periods: in spring (April) and in late summer (August). This flexibility is a significant advantage over other budding methods that require full sap flow in both the scion and rootstock.
What tools are essential for chip budding?
You will primarily need a very sharp grafting knife for precise cuts and grafting tape (like Buddy Tape) to secure the graft and protect it from dehydration. Sterilizing your tools is also crucial to prevent diseases.
How long does it take for a chip bud graft to take?
The video shows bud swelling and piercing of the tape after just over a week for a persimmon graft. However, complete union and establishment of the scion can take several weeks to several months, depending on the species and environmental conditions.
Is chip budding suitable for persimmons?
Yes, chip budding is commonly used for persimmons. An essential subtlety for persimmons, as highlighted in the video, is to ensure that the rootstock is in full sap flow (fully leafed) to optimize the chances of grafting success, even if the scion itself can be dormant.
What is the main difference between chip budding and T-budding?
The main difference lies in the preparation and insertion of the bud. In chip budding, a solid block of bark and wood containing the bud is removed and inserted into a corresponding incision. In T-budding, a 'T'-shaped incision is made and a thin slice of bark with the bud is slipped under the flaps. Chip budding offers more flexibility in timing, not always requiring a rootstock in full sap, except for certain species like persimmon.